
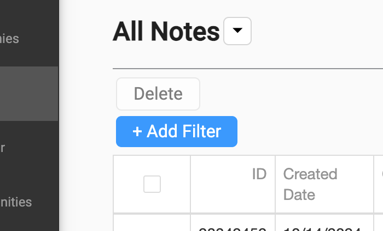
- From the Notes page, click the + add filter button to see available filters.
- There are different field types and the filters options vary for each: Territory, Date, Text, Number, Checkbox, and Drop down.
- Territory
- This is a custom filter where you can view your territories and filter notes by the reps who are in that territory and created them.
- Territory

-
- Date

-
- Text

-
- Number

-
- Checkbox

-
- Drop down


The following are possible filters for Notes:- Territories
- Note Date
- Created By
- Who created the note.
- Assigned To
- Who the task is assigned to.
- Any Narrative
- If you have multiple text note fields, searching for a keyword here will search all text note fields.
- Task Start Date
- Task End Date
- Task
- Search the description from the task.
- Task Assigned To
- Task Complete
- Note Type
- Created Date
- Company Name
- Address
- City
- State / Province / Region
- Zip / Postal Code
- Alternate Address
- Alternate City
- Alternate State / Province / Region
- Alternate Zip / Postal Code
- Company ID
- Auto-populated ID field for each company.
-
- ID
- Auto-populated ID field for each note.
- ID
-
- Miles From Company
- The distance between the user and the Company when the call note was created.
- [Company labels]
- In this example, there is Status and Type. Your company labels will be on your filters list.
- Miles From Company
-
- [Note Fields]
- In this example, there is Narrative and Informacion General. Your note fields will be on your filters list.
- [Note Fields]
- Once you've input your desired filters, click Apply Filter.

- Any added filters will show up as chips above the table and can be edited by clicking on them or removed by clicking the X on the chip.


- To customize columns, click the Columns button located above the table on the right.

-
- Check or uncheck the boxes to show or hide specific fields in the table.

-
- Available columns are:
- ID
- Call Date
- Created Date
- Created By
- Assigned To
- Type
- Company
- Lead Source
- Address
- City
- State / Province / Region
- ZIP / Postal Code
- Alternate Address
- Alternate City
- Alternate State / Province / Region
- Alternate ZIP / Postal Code
- Contacts (Name, Phone, Email, Details)
- Miles From Company
- Note
- Task (Start, End, Assigned To, Complete)
- Company ID
- [Note Fields]
- Drag and drag the columns to reorder them as needed.
- Available columns are:
-
- Click Apply to save your column choices and order.
-
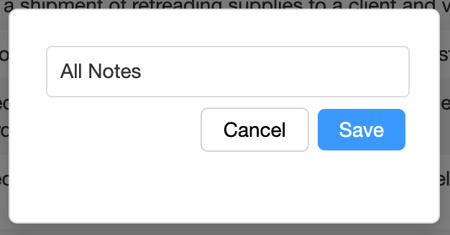
After selecting your filters and columns, you can save the list for easy access whenever you need it.
- Click Save As...

-
- Name the saved list.
-
- Access all saved lists by clicking the chevron icon to the right of the list name.
