Web 
- From the Companies page, click the + add filter button to see available filters.
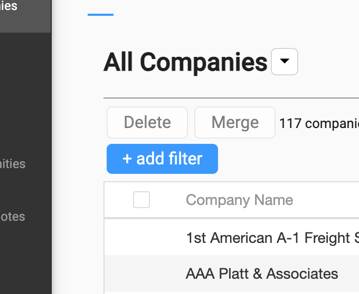
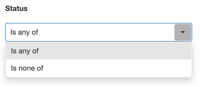
- There are different field types and the filter options vary for each: Date, Text, Number, and Drop down.
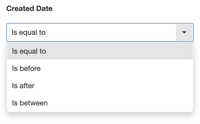
- Date
-
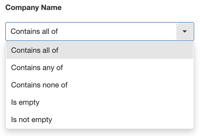
- Text
-
- Number
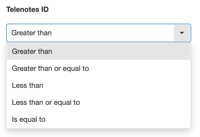
-
- Drop down (Applies mainly to company labels)
- Listed below are all the available fields that can be filtered:
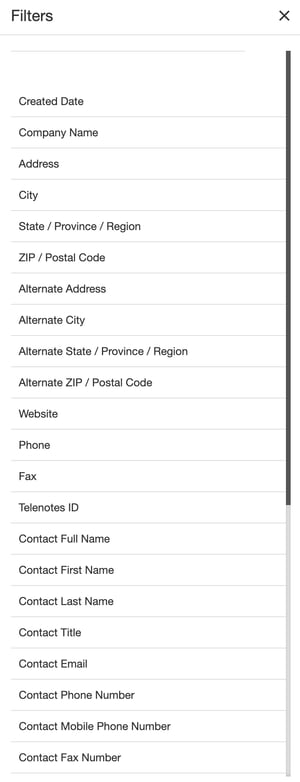
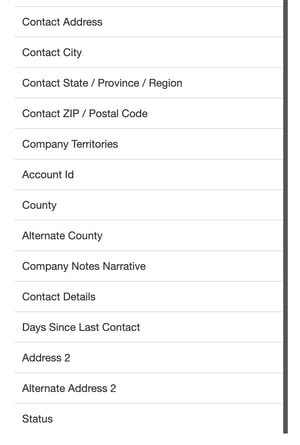 Created Date
- The date the company was created.
- Company Name
- Address
- City
- State / Province / Region
- ZIP / Postal Code
- Alternate Address
- Alternate City
- Alternate State / Province / Region
- Alternate ZIP / Postal Code
- Website
- Phone
- Fax
- Telenotes ID
- Auto-populated ID field for each company. Cannot be changed.
- Contact (Full Name, First Name, Last Name, Title, Email, Phone Number, Mobile Phone Number, Fax Number, Address, City, State / Province / Region, ZIP / Postal Code)
-
- Company Territories
- Territories the company is a part of.
- Account ID
- Custom company ID field that can be used by your team. There may not be any data here if your team isn't using a custom ID.
- County
- Alternate County
- County of the alternate address.
- Company Notes Narrative
- Contact Details
- This is an open text field on the contact to keep notes for individual contacts.
- Days Since Last Contact
- The number of days since the last note was created on the company.
- Address 2
- Secondary address information for apartments, suites, PO Boxes, and other address designators.
- Alternate Address 2
- Alternate secondary address information for apartments, suites, PO Boxes, and other address designators.
- Company Territories
-
- [Company Labels]
- In this example, Status is the company label option. You will see your company labels here.
- [Company Labels]
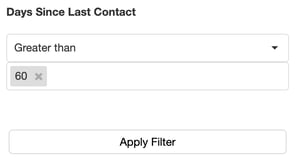
- Once you've input your desired filters, click Apply Filter.
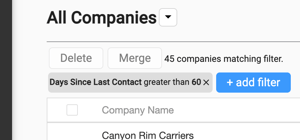
- Any added filters will show up as chips above the table and can be edited by clicking on them or removed by clicking the X on the chip.
- Manage columns but clicking on the Columns button at the top of the table to the right.
-
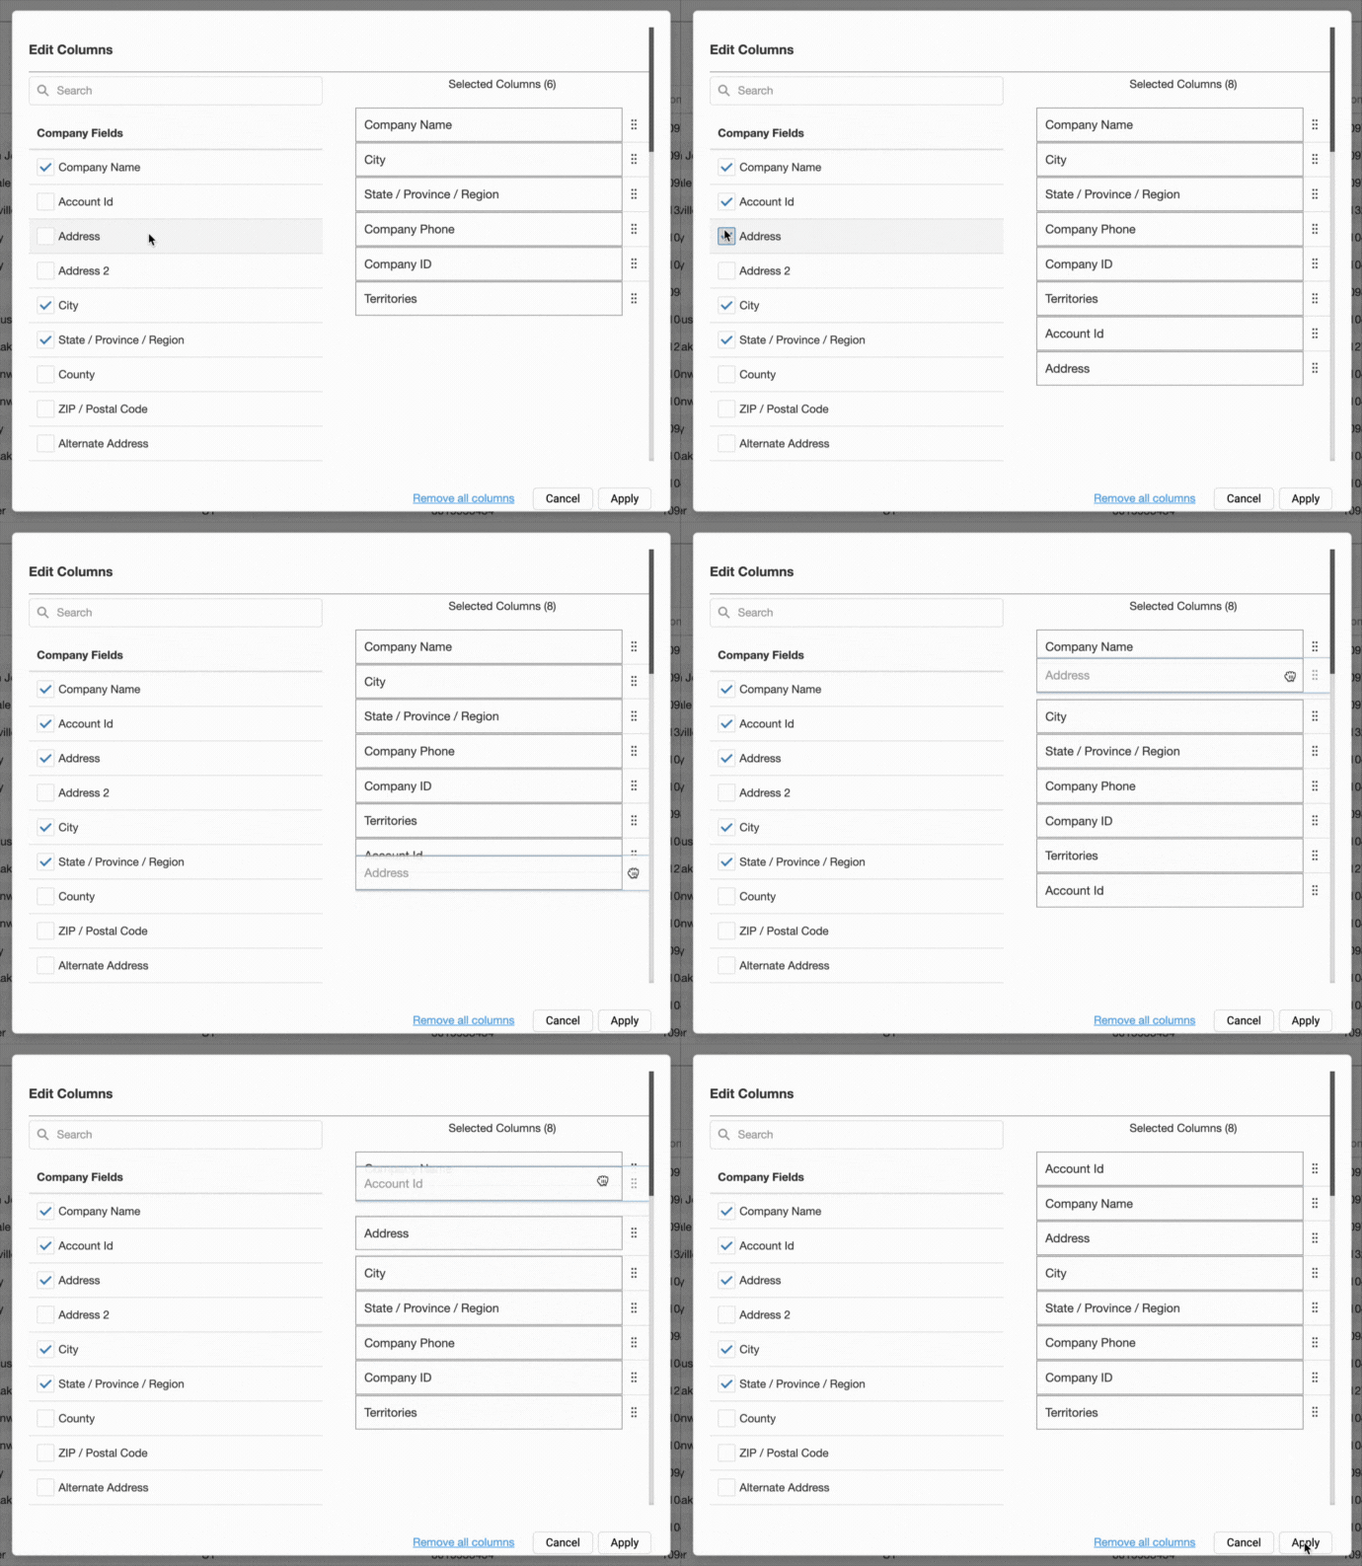
- Add or remove columns by checking and unchecking the boxes next to the column names.
-
- Reorder columns by dragging and dropping in the list.
- Click Apply.
-
After selecting your filters and columns, you can save the list for easy access whenever you need it.
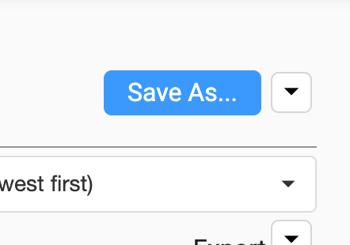
- Click Save As...
-
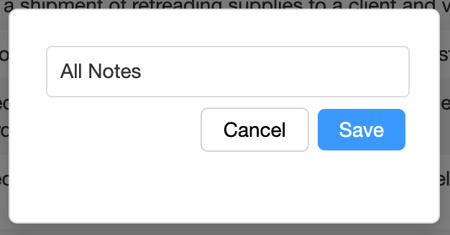
- Name the saved list.
-
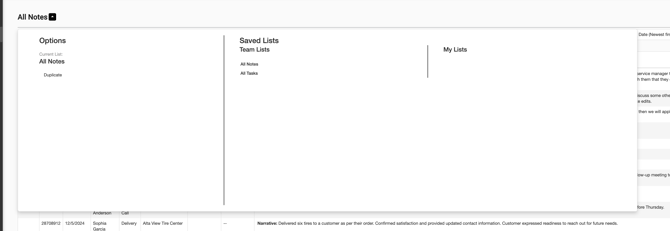
- Access all saved lists by clicking the chevron icon to the right of the list name.